I love knitters. The fact that I can post a super nerdy and long-winded ramble—you wouldn’t believe how much I had to cut to beat the “your caption is too long” message—about where to connect your sweater sleeves to your sweater body and the knitters of Instagram will just gobble it up? It gladdens my geeky heart, it really does. It also tells me that folks are hungry for knowledge about how to get better results from their hours and hours of patient making. I have a whole lot of thoughts on this subject, and I want to record them somewhere more accessible and easier to reference than Instagram, so let’s consider this the start of a little blog series.
Acknowledgment: I did not invent this stuff; some people have formal training in it and you should learn from them.
I’ve been privileged with time and resources to follow my curiosity on sweater fit. One of the most valuable experiences I’ve had was the opportunity to study with Amy Herzog in a day-long workshop on custom raglan construction, during which she dropped all kinds of tantalizing tangential information about other sweater constructions and I scribbled marginalia like a fiend. Through her Custom Fit project, she’s gathered more data about the variety of bodies out there than anyone, and she’s helped a whole lot of knitters to lightbulb moments like the idea that the back of your body and the front of your body are shaped differently… and it’s okay to acknowledge that by knitting the back of your sweater and the front of your sweater to different dimensions. The sweater I made from that workshop fits me exactly the way I like it. (Footnote: I commend Amy for stepping away from the “knit to flatter” messaging of her first book to focus on the wearer’s comfort and pleasure in the final garment—we’re making some strides as a society and it’s heartening to see that reflected in the tone of important resources.)
Amy isn’t teaching or designing these days, but a lot of other insightful and talented people are offering learning opportunities online, sometimes for free or relatively accessible prices. I don’t have any desire to commodify the information I’ve gathered to inform my own knitting; I haven’t invented anything and all I know comes from studying the work of others and observing what works and what doesn’t on various bodies. I greatly respect those who earn a living as teachers, though, and encourage you to seek them out if you have the means. If you find what I share helpful, I’d love for you to support designers like Natalie Warner of Natalie In Stitches, whose blog posts offer a wealth of thoroughly researched and well-presented insight about every detail of our craft. Natalie also teaches regularly in online fora.
Round yoke sweaters: love ‘em and hate ‘em.
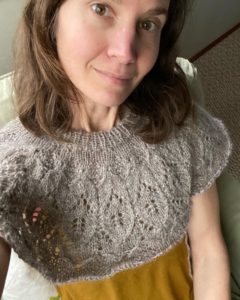
So, round yoke sweaters! They’re such a great design canvas; humans love to make circular artwork and the possibilities are practically endless. Some knitwear designers have found commercial success doing nothing but round yokes—that’s how compelling we knitters find these iconic sweaters. But a lot of us wind up a little deflated once the garment is off the needles and on our bodies. The fabric doesn’t lie flat across our chests, or there are extra pleats across the back, or it wants to ride up and mound around our necks, or we lift our arms and the whole sweater ascends to try to swallow our heads. We sadly conclude that this style does not work for us. (Okay, let’s be honest, some of us try to fix the problem with aggressive blocking, and when that doesn’t work, we set the sweater lovingly but regretfully in the back of the drawer… and cast on another, hoping for a different result.)
Troubleshooting starts with assessment.
When I see these problems in sweaters, I try to deduce what’s going on. It’s always a question of too much or too little fabric in key areas, so the trick is to figure out whether you can redistribute the stitches to the areas where your body needs more ease. If you knit just the yoke of a round yoke sweater—and you can do this from a provisional cast-on if your sweater is designed bottom-up, and then either graft the pieces together or pick up stitches and knit the body and sleeves top-down—and then try it on, you can gain a lot of useful information. Take the time to put all the stitches on waste yarn and give your yoke a wash and block first, so you can assess the finished fabric.
- Where does the fabric naturally want to fall on your body? If you mark the points fore and aft of your arms, where it seems natural for sleeves to emerge, you may discover that the stitches remaining for the front and back are not equal. Some bodies are naturally 50/50, and nearly every sweater pattern is written as if this were the case, but many bodies aren’t. Your cross-chest measurement is probably greater than your cross-back measurement if you have a full bust. If you’re flat-chested or have shoulders that naturally curve forward a little, your cross-chest measurement may well be less than your cross-back. The solution is to move the sleeves, and I’ll go into detail about how to do that in my next post.
- How does the fabric sit on the shoulders? Is the neckline lying smoothly against your body, or does it seem to have too much fabric? Move your arms around. Is there enough ease in the lower portion of the yoke to allow free movement, or does the whole yoke have to shift when you raise your arms? If things aren’t looking so good here, you’re going to need to do some ripping. The answer might be choosing a different size from the pattern—certainly if the yoke just seems too soupy all around, you’d want to consider this option—but there may be something amiss with the distribution of the shaping rounds, and I’ll talk about that in the third post of this series.
- How deep is the yoke? Row gauge can be a real bugaboo, so this is a good moment to measure your yoke and compare it to the pattern’s schematic. If your yoke is significantly deeper or shallower than intended because your row gauge is off, this will make it tough to achieve a garment that fits well. You may need to consider adding or removing rows in the pattern, or—weirdly—changing needle material. If your stitch gauge is accurate, you don’t want to change needle size, but most knitters find they get a different row gauge working with wood needles vs. metal, and that may be a trick you can deploy to tame yoke depth issues in a re-knit.
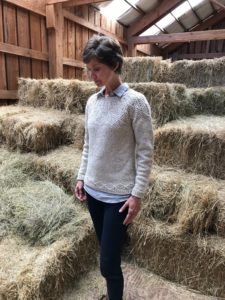
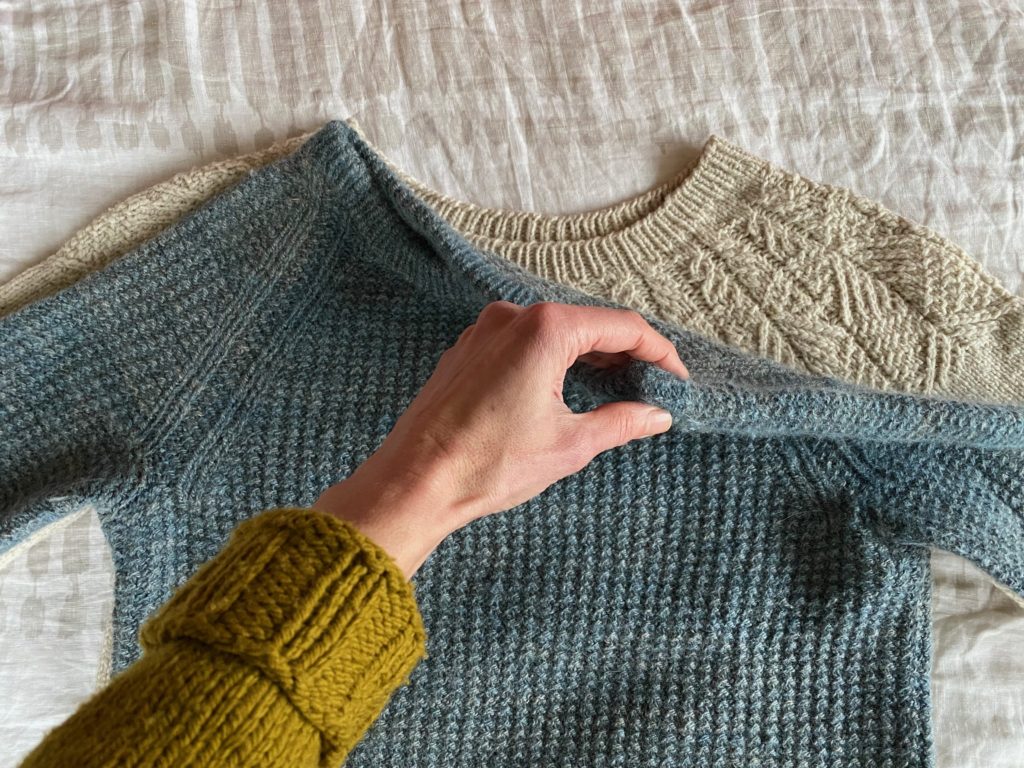
If you have a completed yoke sweater that doesn’t fit well and you’re not ready to take scissors in hand and cut the yoke off, try laying it flat and comparing it to a sweater you like to wear. Where is it wider or narrower? I laid that custom raglan I mentioned on top of my Kennings round yoke to compare them. Both sweaters fit me well, but I was surprised how similar they are in shape. The yoke depth is identical; the necklines are the same. The round yoke is a little fuller through the point of the shoulder, but not as much as I expected, given that raglans don’t have a point of the shoulder built in at all. If I compared my Kennings to a sweater with a set-in sleeve, they’d be even closer.
What questions do you have at this point? If you use Instagram and want to post a photo of yourself wearing a round yoke with a problem in the fit, tag me in (@whistlinggirlknits) and I’ll pop over and see if I can offer any suggestions. (Note that I’m assuming a handful of you may take me up on this… if 600 people suddenly want to compare ideas on sweater fit, I’ll love you all for it and my desire to help will be burning bright, but I might need to call for backup!)
Next time we’ll do Part 2, the sleeve shift mods. If you don’t want to wait, my Instagram page has a Highlight called Sweater Surgery that you can read now to get the idea. That was a rather drastic project to move the sleeves on an already completed sweater, so don’t look if severed sleeves are going to stress you out. In the blog post I’ll focus more on the why of this mod, how to tell if you might need it, and how to set it up for a sweater that’s still in progress.
Be well, everybody!
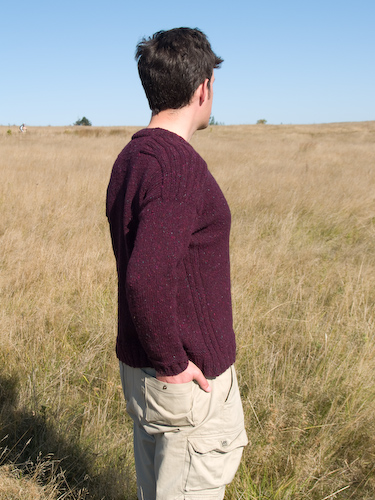
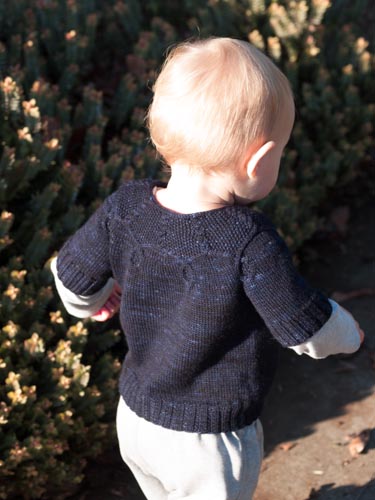

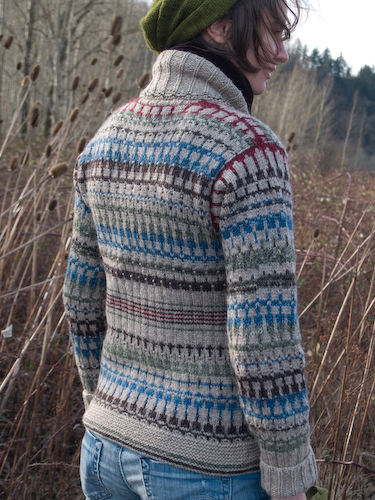
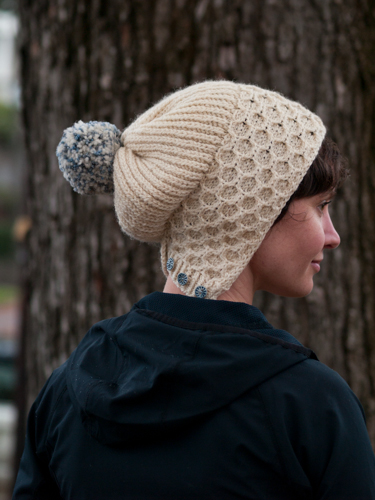
I don’t have an existing sweater that fits well because I’m a weird bony shape (and CustomFit, though I really appreciate its mission, couldn’t accommodate me either). Short torso and wide shoulder = nearly square, with a shallow bust. Learning to estimate appropriate pattern size by ignoring my bust and using circumference at shoulder, including my bony upper arms, was a game-changer.
I really appreciate your suggestion to try on the yoke, then pinch to see where the sleeves should go. That’s what I’d realized eventually, though since I lack me-sized/shaped sweater experience, it was only a guess. (I’ve knit successful sweaters for other people, so it’s not my knitting, either.)
Looking forward especially to your next post, therefore!
Sharon, I’d be happy to help you dig into pattern mods sometime–everyone deserves a sweater that fits well, and I really feel like we can get there with math and logic and swatching!
Thank you for the kind offer! I really appreciate it.
Lately I’ve been working slowly on math by making deliberately loose garments (intended to have 8+ inches positive ease) and then seeing how they drape, for where I could cut back. It takes a while, but building up from a swatch has also taken a while, in that it hasn’t worked so far. 🙂 My everyday storebought clothing tends to be pretty loose, too.